
If you're looking for a delicious, healthy, no-bake energy boost then look no further than these Orange & Chocolate Energy Balls. Super easy and fast to make, the whole family will love them!
Orange & Chocolate Energy Balls
Prep time 5 minutes
Chill time 40 minutes
* In place of the Orange Juice and Orange Zest I have used 8 drops of Doterra Wild Orange Essential Oil.

1. Place all the ingredients except the chocolate into a large bowl. Mix with a spoon until well combined.
2. Roll the mixture into 10-12 equal sized balls and place them in the refrigerator for 30 minutes to chill.
3. Melt the chocolate and drizzle it over the Energy Balls. Return them to the refrigerator for another 10 minutes.
4. Eat straight away or keep in an airtight container in the refrigerator for up to 5 days. These also freeze well to pull out as you are ready to add them to the lunchbox.
** Take a look at our Litter-free Lunch Boxes here or Snack Boxes here.
Looking for more delicious treats to pack in the lunchbox? Grab yourself one of our extremely popular recipe books to keep lunches interesting.
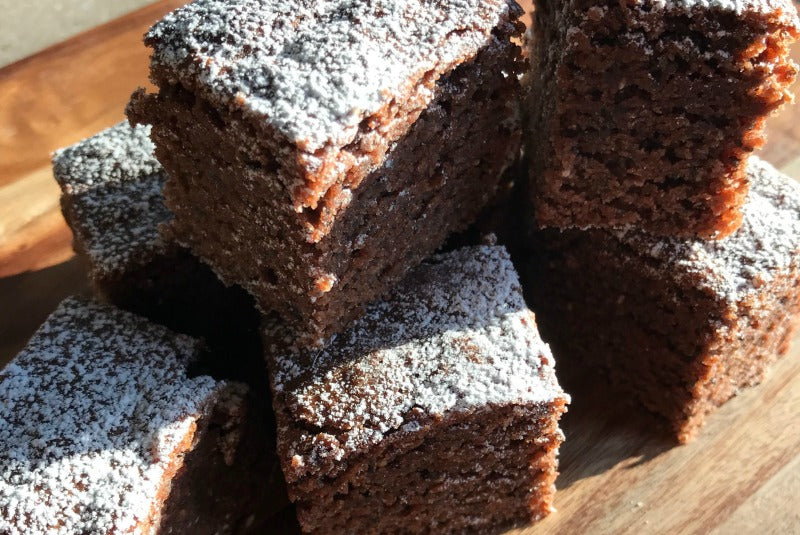
Chocolate brownie is a delicious treat that we all love.
This one lets us enjoy it even more knowing there is hidden goodness to make it just a bit healthier. The subtle crunch of the chia seeds puts a twist on the favourite brownie that will have you coming back for more.
Perhaps pop it in the freezer before it's all gone, then you can pull a piece out to pack in the lunch box.
Crunchy Chia Choccy Brownie
Prep time 10 minutes
Cook time 25 minutes

1. Preheat oven to 180°C. Grease or line a 25 cm x 25 cm brownie tin.
2. In a small saucepan, gently melt the chocolate and butter together over a low heat. Stir through the sugar, salt and vanilla essence. Remove from the heat before the sugar catches on the bottom. Allow to cool for about 5 minutes.
3. Fold the chia seeds into the chocolate mixture and then fold through the flour.
4. In a medium-sized bowl, beat the eggs together. Add about a third of the egg mixture to the batter, stirring until it is well combined, then repeat until all the egg is well mixed in. Fold the nuts through.
5. Pour the brownie mixture into the tin and bake for 20-25 minutes or until a skewer inserted into the centre comes out almost clean. Remove from oven and allow to cool.
6. Turn out onto a wire rack to cool further, then cut into squares and dust with a little icing sugar if desired.
7. Store in the fridge or freezer in an airtight container until you're ready to pop them in the lunch box.

** Take a look at our Litter-free Lunchboxes here or perhaps you're looking for litter-free wraps
Recipe credit: Recipe taken from the Munch Lunchbox Cookbook. You can grab your own copy with loads of other ideas here.
xx
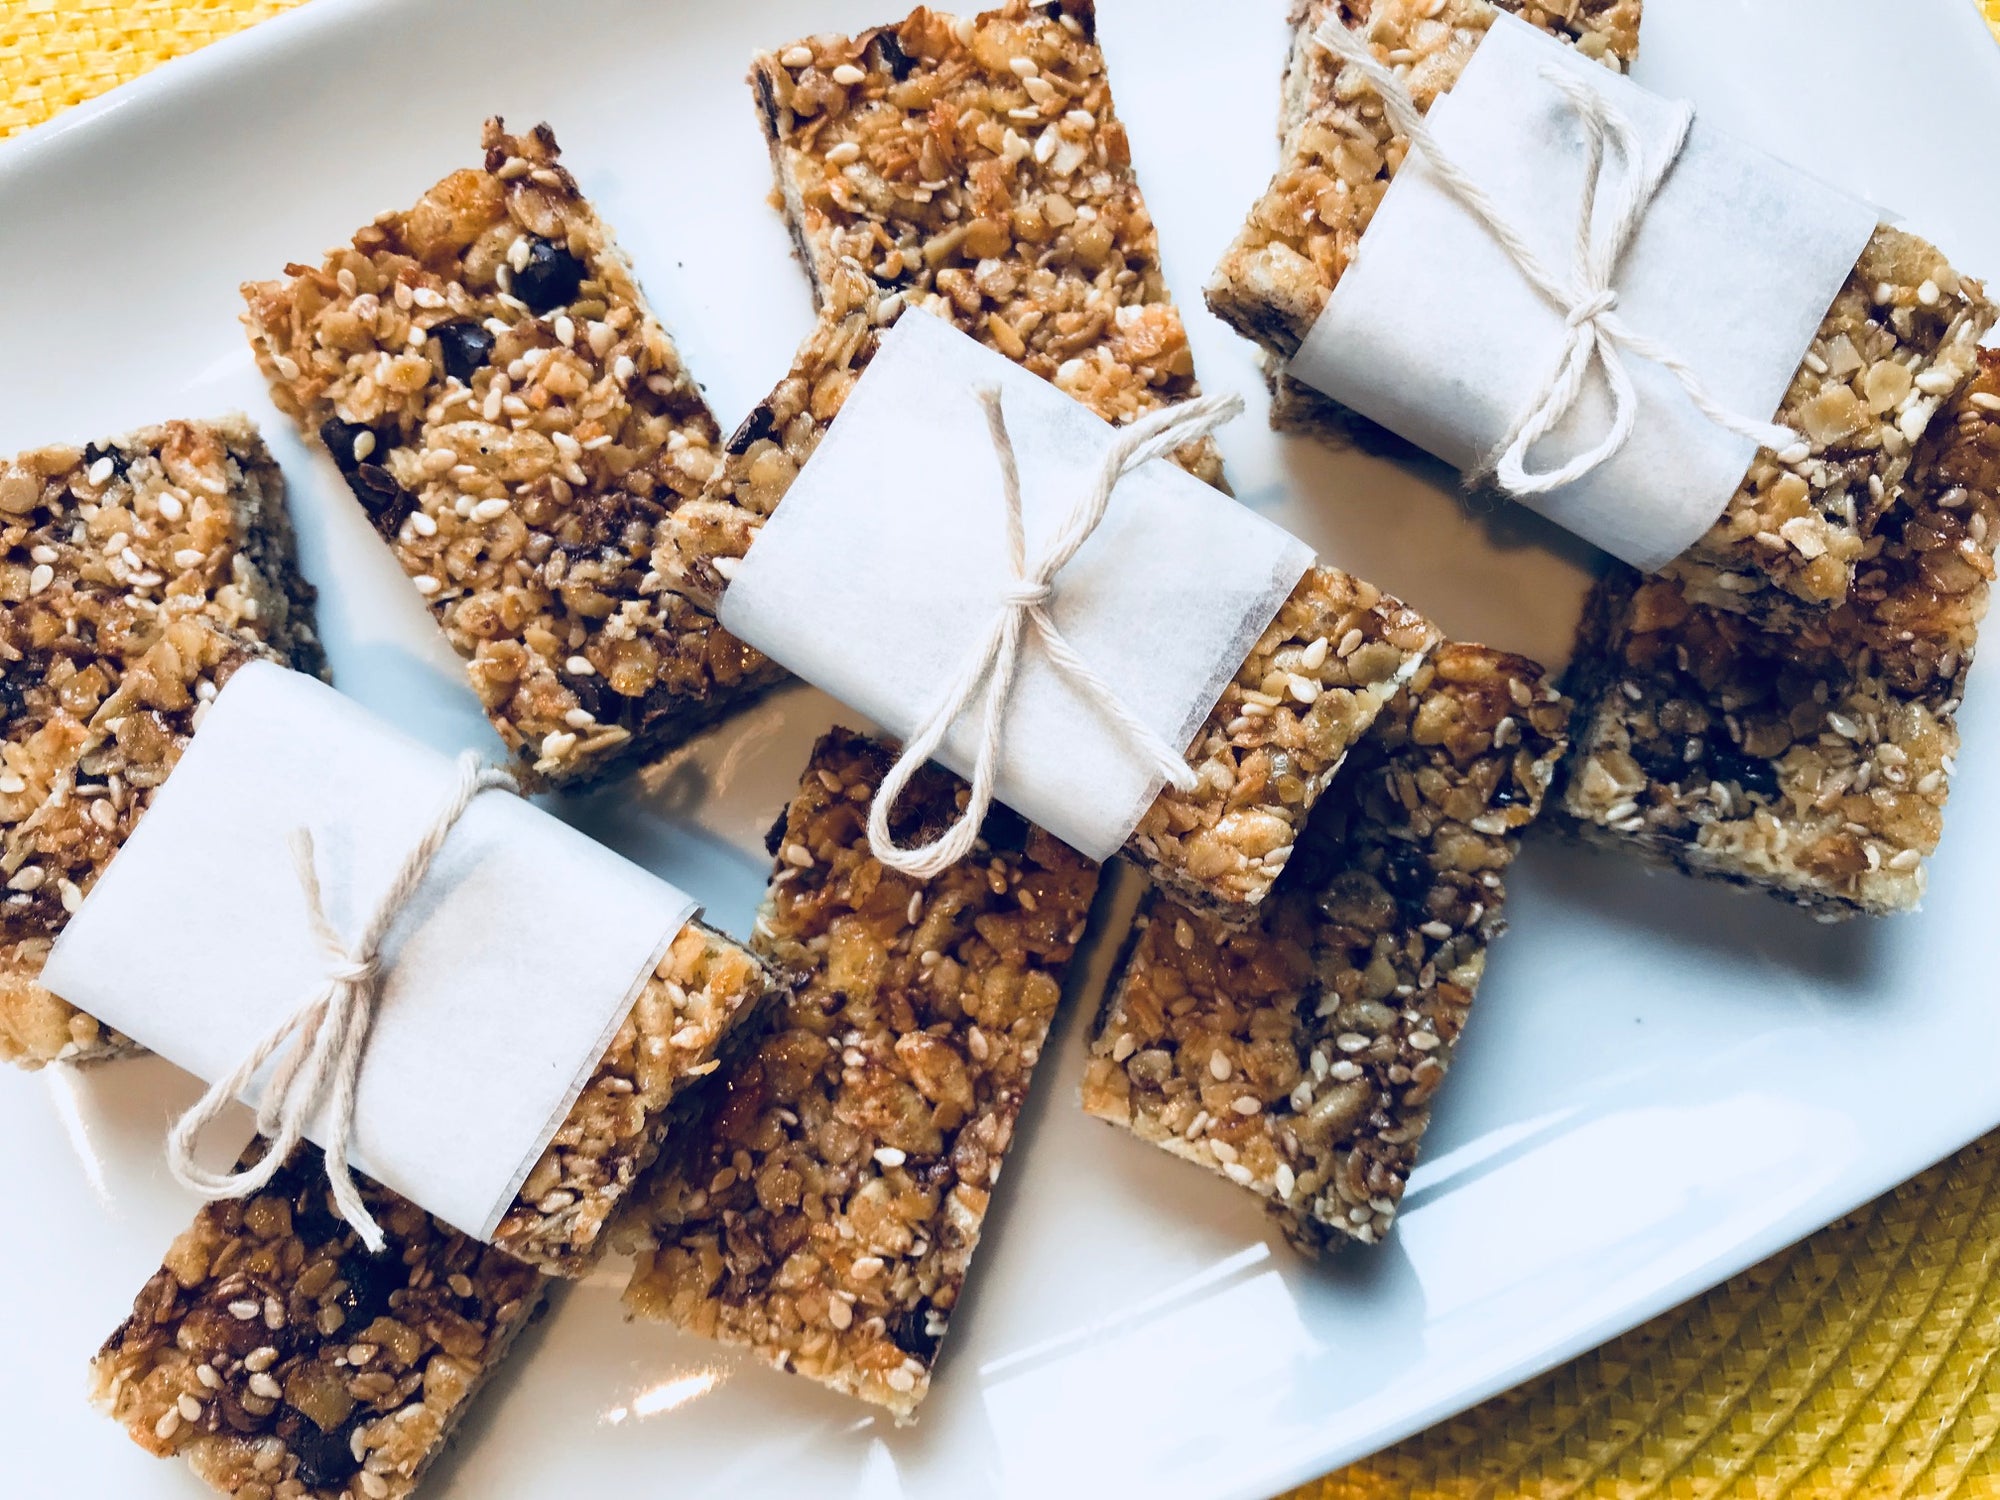
You need to make these now! They're packed full of goodness and absolutely delicious. It's quite likely you have all the ingredients in the cupboard already. Quick and simple, they can be in the lunch box tomorrow morning, and pop the rest in the freezer for another day.
Muesli Bars - No Nuts!
Prep time 5 minutes
Cook time 15 minutes

1. Preheat oven to 180°C. Line a 18cm x 28cm slice tin with baking paper.
2. In a small saucepan, combine honey and butter. Stir over medium heat until the butter is melted. Reduce heat to low and simmer for 5 minutes without stirring.
3. Combine remaining ingredients in a large bowl. Pour in the honey syrup and stir to combine. (if adding choc chips leave these until the rest of the mixture is combined to prevent melting.)
4. Transfer mixture to the prepared tin and press in firmly.
5. Bake for 15 minutes or until golden brown. Allow to cool slightly then refrigerate to set. (If you try to cut it straight from the oven, it will fall apart.)
6. Once hard, cut into bars. Store in the fridge or freezer in an airtight container until you're ready to pop them in the lunch box.

** Take a look at our Litter-free Lunchboxes here or perhaps you're looking for litter-free wraps
Recipe credit: Recipe taken from the Munch Lunchbox Cookbook and adapted slightly. You can grab your own copy with loads of other ideas here.
xx
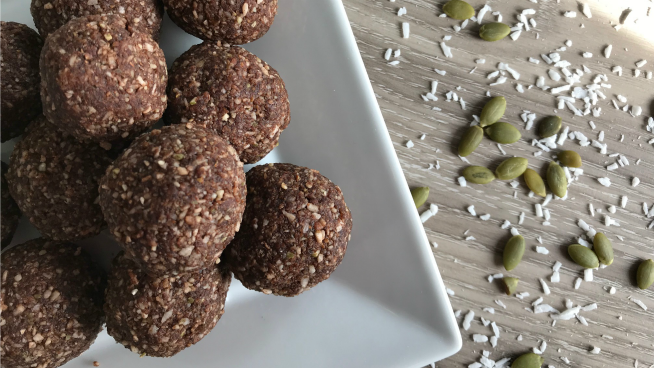
Bliss Balls are a regular go-to in our house as a great healthy snack or lunchbox treat. However with so many schools and pre-schools now a nut free zone, this can be quite limiting.
The good news is Wick Nixon from Wicked Wellbeing has created this fantastic Nut Free Protein Ball recipe using seeds, which is the perfect protein addition to the lunchbox to give the kids that extra boost during the day.
Our kids absolutely love them - I'm sure you will too!
Nut Free Protein Balls
Prep time 10 minutes
Fridge Time 1 hour to chill
1. Combine all ingredients in a food processor and pulse until smooth.
2. Form into balls using damp hands.
3. Refrigerate for approximately 1 hour until firm.
Store in an airtight container in the fridge or freezer. Simple and healthy treats ready to put straight into the lunchbox when required ( if they last that long ).
Makes approximately 16-20 balls

** Take a look at our Litter-free Lunchboxes here
Recipe credit: Wick Nixon from her book Healthy Lunchbox Love. To get more fantastic recipes like this one you can get her book here.
xx

I am a huge lover of anything chocolate, but add a little coconut and I am absolutely in my happy place. So you can imagine my excitement when I came across a healthy recipe to indulge my cravings.
This chocolate coconut slice is delicious and got the thumbs up by both my boys and the "hell yeah" from the husband.
Warning: pop in the freezer as soon as cut or you will find yourself having to make another within days.
Bounty Slice
Prep time 10 minutes
Fridge Time 1 hour to chill
Base
Middle
Top
1. Line a square 20 cm tin with baking paper overhanging the sides for easy removal.
2. Place the base ingredients into your food processor and blend at high speed until the mixture resembles a fine, sticky crumb. Press the mixture firmly into the base of your prepared tin and set aside.
3. Place ingredients for the middle layer into your food processor and blend until the mixture is well combined and sticking together. Press the mixture over your base and set aside.
4. Mix together the ingredients for your chocolate topping and pour the topping over your slice, spreading it out to cover the middle layer.
5. Place in the fridge to set for about 1 hour.
optional - if you choose to sprinkle coconut over the top, remove from fridge after 5 minutes to do this then return to the fridge until completely set.
6. Slice into squares. Enjoy!
Once sliced this can be stored in the fridge or freezer, and you can serve or pop in the lunchbox straight from there.
** Take a look at our Litter-free Lunchboxes here
xx
Recipe credit: Wholefood Simply

If you're looking for a scrummy sweet treat that's healthy and packed with goodness then give these a whirl.
Delicious in the lunchbox or as a morning / afternoon snack, these Oat Cookie Bites are full of fibre and antioxidants.
I've chosen to use Cacao Nibs in them for extra magnesium and antioxidants, but have drizzled a little dark chocolate over the top to balance the bitterness of the Cacao. If you'd prefer something more simple, replace the Cacao Nibs with Dark Chocolate Chips.
Oat Cookie Bites
Prep time 10 minutes
Fridge Time 30 minutes to chill
1. Place all ingredients in a food processor. Pulse to blend, adding water slowly until dough forms a chunky consistency.
2. Roll into balls. Why not try using the Rice Ball - perfect for making bliss balls minus the mess.
3. Optional - drizzle the top with a little melted dark chocolate.
4. Place in the fridge for 30 minutes to chill and set.
5. Store in the fridge, or you can freeze once set in an airtight container or zip-lock bag, and pull out as you are ready to add them to the lunchbox.
** Take a look at our Litter-free Lunchboxes here
Makes 18 balls

Recipe Credit: Adapted from Healthy Food Guide

Do you want to make something delicious and simple minus all the fuss? Create a wonderful self crusting quiche with whatever you have in the fridge - no special trips to the supermarket! It's one of those brilliant life-saving recipes where you throw it all in together - perfect for when you're short on time.
The recipe can act as a master recipe with all sorts of variations. It's a wonderful way to use up leftovers or clear out the fridge.
Prep time 15 minutes
Cook time 40 - 45 minutes
Master Ingredients
1. Pre heat oven to 190°C.
2. Spray a quiche or baking dish with baking spray.

3. In a bowl, lightly whisk eggs. Add milk, flour, cheese, onion and garlic. Stir to combine.

4. Add chopped spinach, pre cooked kumara & pumpkin, and mixed veges. Mix until combined well.

5. Season with salt and pepper.
6. Pour into previously greased baking dish.

7. Bake in oven for 40 - 45 minutes until golden on top and is springy in the middle to touch.

8. Leave to settle in the dish for 5 - 10 minutes before serving.
9. Serve it hot or cold with a side salad, or cut into thick slices for the lunchbox. It works perfectly with a little relish on the side ;-)

** Store in the fridge until your ready to serve or add to the lunchbox.
Take a look at our Litter-free Lunch Boxes here
Why not try these variations:
We would love to hear of any other combinations you try. Change it around each time to keep the recipe alive and exciting!
We hope you love it! xx
Recipe credit: my Mum when i first left home :-)
Growing up as a kid I was fortunate to have a Mum that would pop delicious homemade treats in our lunchbox. It was a sense of warmth and love that followed us from home to school - a touch of Mum with us during the day.
Now days, time is so precious that it's sometimes easier to pop in packets of treats or a store-brought biscuit. The cost of these certainly mounts up, and the lack of knowledge of what's in them can be concerning!
Taking the time on the weekend to make a few homemade treats - muffins, slices, cakes etc can be a life saver when packing the lunchbox. Pop them in the freezer for during the week and pull them out when you need them - much kinder on your wallet and body too!
I always get a nostalgic feeling when doing home baking for the boys, and hope one day that it will evoke nostalgic memories for them and their children x
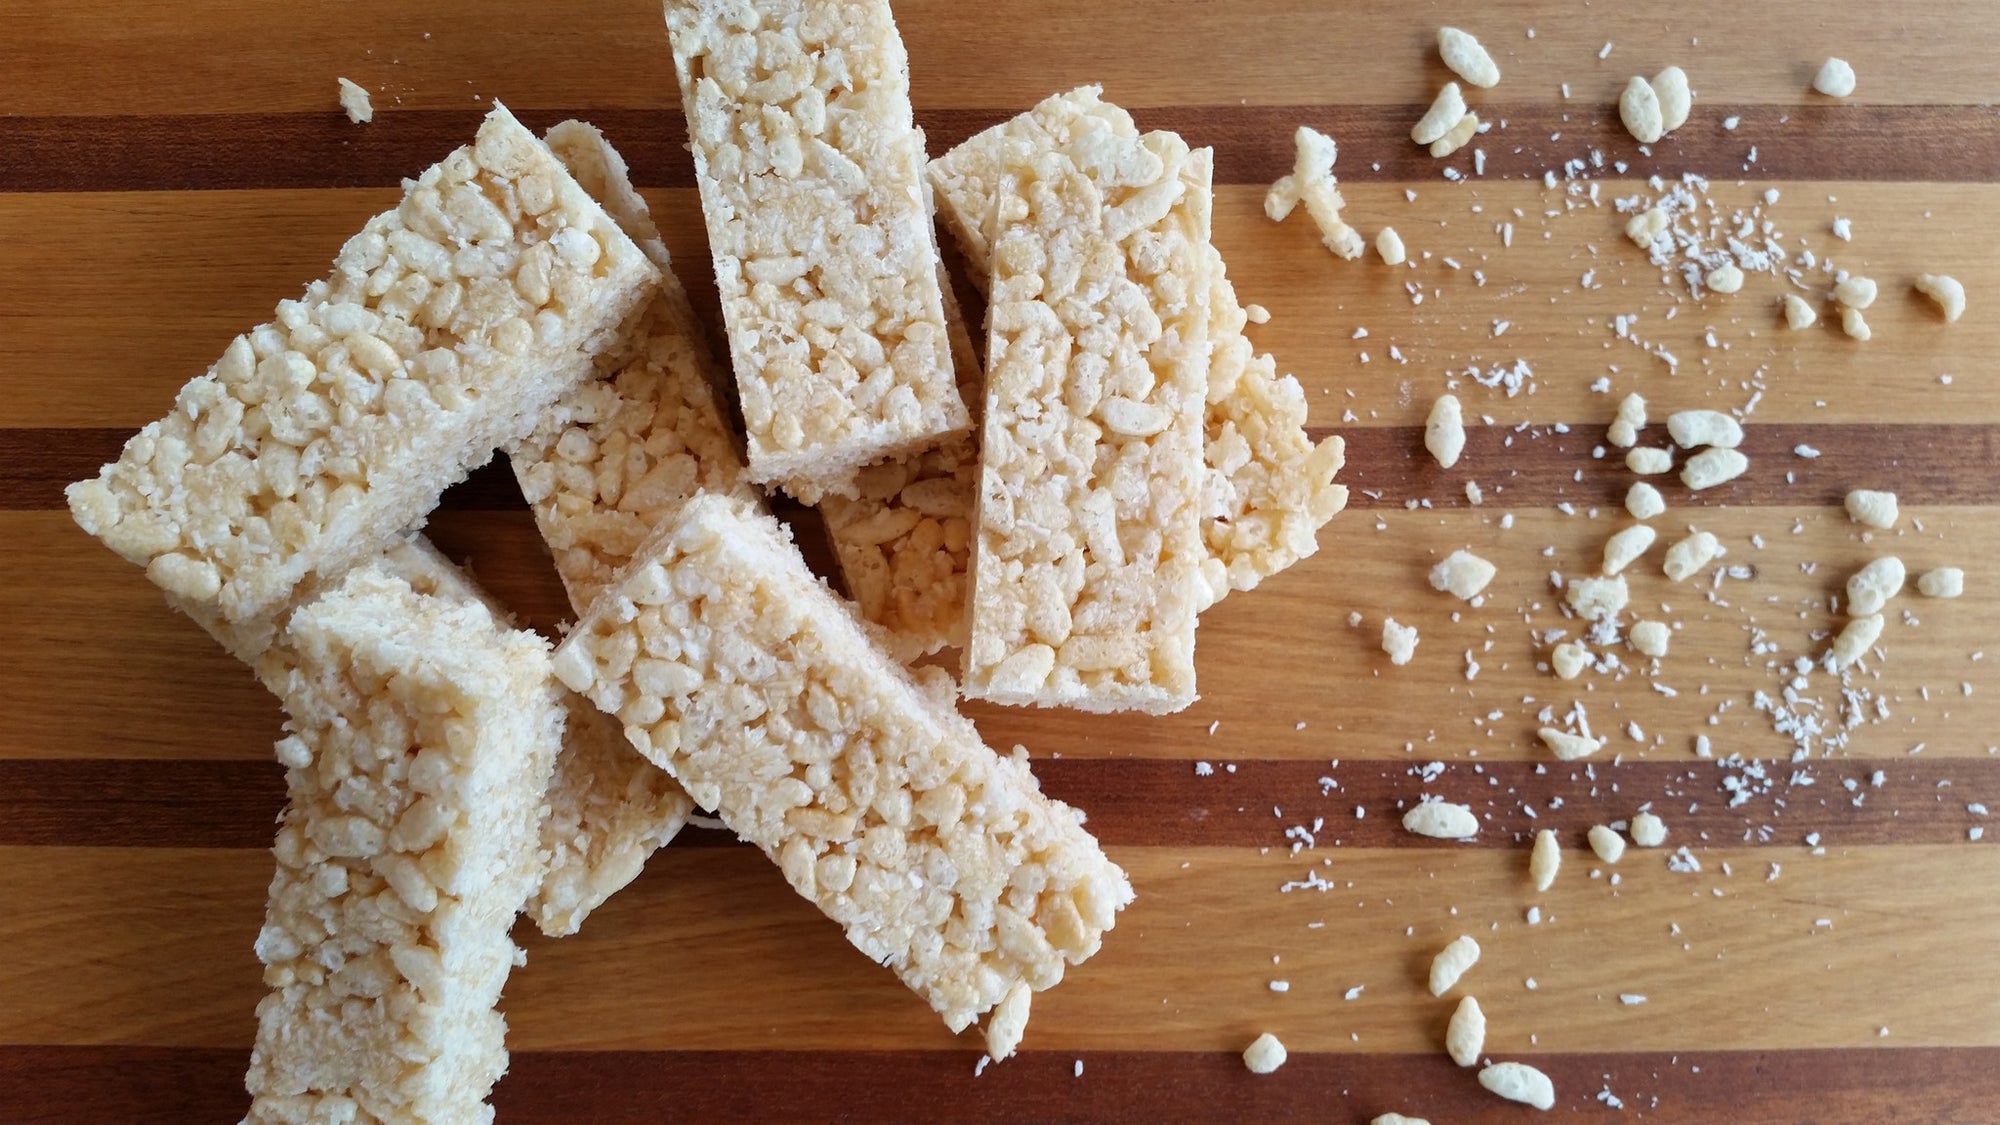
Why not give it a try - here's an extremely quick and simple recipe to get you started - it's absolutely delicious!
Bubble Bars
Prep time 5 minutes
Fridge Time 2 hours
1. Combine rice bubbles and coconut in a large bowl.
2. Add melted coconut oil and honey, mixing until well combined.
3. Press firmly into a lined slice tin.
4. Pop in the fridge for 1 - 2 hours until set.
5. Once set, turn out onto a chopping board and cut into 16 long bars. For a more bite size treat, cut into 32 squares.
6. Store in the fridge, or you can freeze once cut and pull out as you are ready to add them to the lunchbox.
** Take a look at our Litter-free Lunch Boxes here

Mini Quiches are a fantastic sandwich alternative to keep things exciting and fresh, and they fit perfectly in the lunchbox. They're quick and simple to make and are packed full of protein to keep the mind and body ticking along during the day.
With so many different flavour combinations to create, these will become a weekly staple in the lunchbox for sure!
Prep time 10 minutes
Cook time 20 - 22 minutes
1. Preheat oven to 180°C and spray muffin pan with cooking spray (alternatively you can use silicone muffin cups).
2. Place mixed veges, onion and ham in the bottom of the muffin cups.

3. In a bowl whisk together eggs and milk, add salt and pepper to season.
4. Pour over fillings in muffin cups until 3/4 full.

5. Sprinkle each muffin cup with grated cheese and fresh parsley.

6. Cook for 20 - 22 minutes until golden on top and egg is cooked.

* Makes 12 Mini Quiches
** Store in the fridge until your ready to add them to the lunchbox.
Take a look at our Litter-free Lunch Boxes here
Why not try adding bacon or chicken as a variation, or carrot, zucchini, spinach, mushrooms instead of mixed veges. You could even pop a little feta or brie on the top!
Try different combinations each time to keep things exciting. It's a great place to hide veges as well :-)
We hope you love them like us! xx
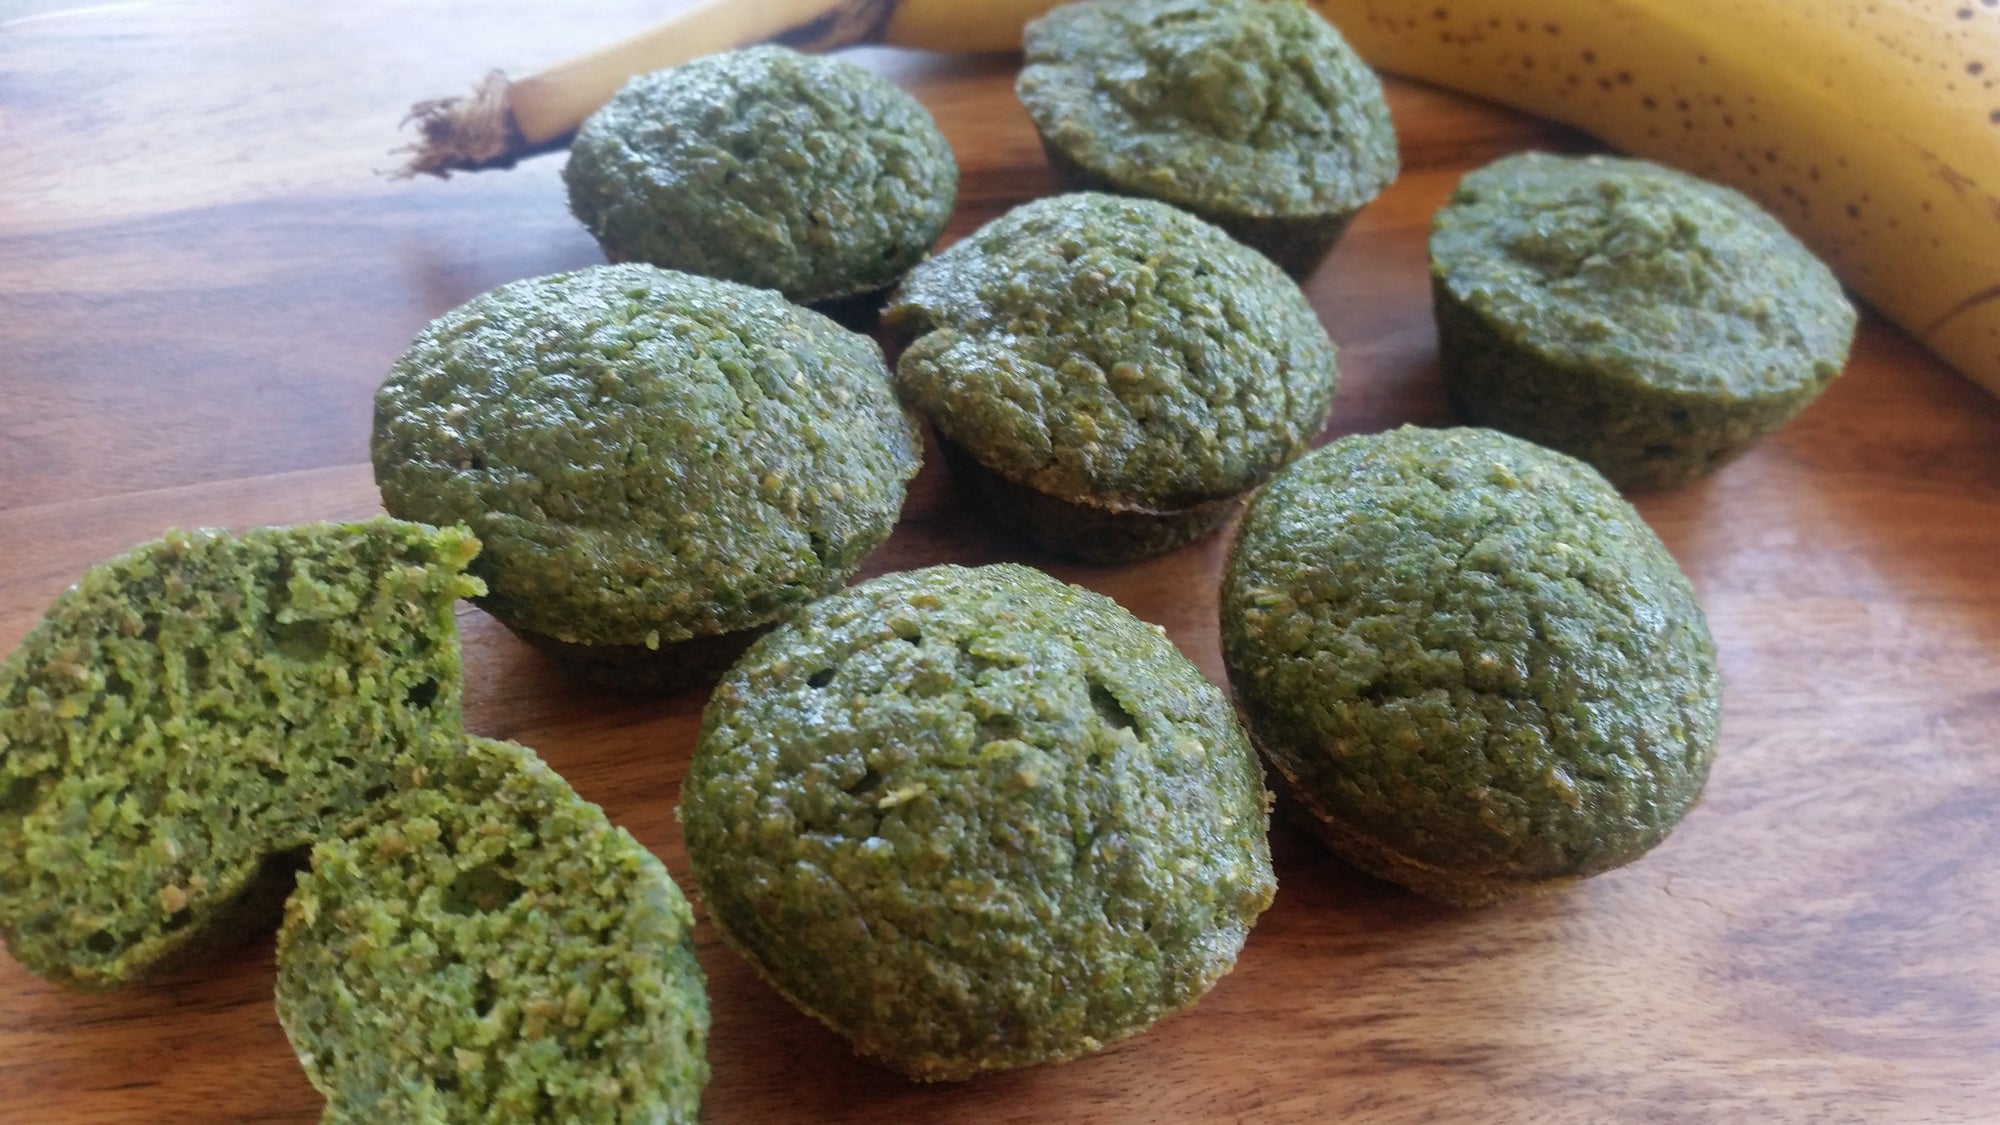
Got a picky eater? These kid friendly delicious muffins are 100% whole wheat, refined-sugar-free, and packed with fresh spinach!
In fact, they are so tasty I had to pop them straight in the freezer so there would be some left for lunches.
Don't be fooled that their gorgeous green colour will tarnish the flavour - the greens don’t make waves at all, taste-wise. Instead they taste sweet with a hint of cinnamon and banana, keeping them deliciously moist.
And if that's not enough, you can entice your fussy ones into eating their favourite green characters super food - Hulk muffins anyone? Popeye, Kermet the Frog, the Green Lantern or Shrek! Let their imaginations run wild.
Best of all they freeze really well and are perfect for throwing in the lunch box.
I hope you love them as much as us - Enjoy!
Prep time 10 minutes
Cook time 18 - 22 minutes
1. Preheat oven to 180°C and spray muffin pan with cooking spray (alternatively you can use silicone muffin cups sprayed with cooking spray).
2. Combine all dry ingredients in a large mixing bowl.
3. Blend the wet ingredients in a blender or food processor until completely pureed.
4. Pour the puree into the dry ingredient bowl, and fold together gently until just combined. (Do not over-mix.)
5. Spoon the batter into the muffin pan, and bake for 18-22 minutes, or until the muffins are firm to touch on top, but not quite browning.
6. Cool most or all of the way before serving.

** please note that this recipe is for large muffins which will take about 18-22 minutes to cook. If cooking mini muffins reduce the cook time to approximately 15 minutes and keep an eye on the tops so they don't quite brown but bounce back when touched.
** These Sweet Spinach Muffins freeze beautifully. Simply pop them in an airtight container or bag in the freezer and when required pop them straight in the lunch box. They will help keep the lunchbox temperature down but will be defrosted by snack time.
Take a look at our Litter-free Lunch Boxes here
** Recipe credit to Super Healthy Kids

These Savoury Cheese Muffins are a favourite of ours and are extremely fast to make with staple ingredients found in most pantries.
It's super easy to leave out the celery & capsicum for fussy little ones, or replace with finely chopped onion if that's all you have available. You can also add some finely diced ham or bacon if you choose to give some extra flavour to your savoury muffins.
Best of all they freeze really well and are perfect for throwing in the lunch box.
Enjoy!
Prep time 10 minutes
Cook time 15 minutes
1. Preheat oven to 200° C bake. Grease muffin tins.
2. Place celery, capsicum and cheese into a bowl.
3. Sift flour, cayenne pepper, baking powder and salt into the bowl. Stir to combine.
4. Quickly stir in egg, butter and milk.
5. Spoon mixture into greased muffin tins.
6. Bake for 10 - 15 minutes or until the tops are golden.
** please note that this recipe is for large muffins which will take about 15 minutes to cook. If cooking mini muffins reduce the cook time to approximately 10 minutes and keep an eye on the tops till they turn golden.

** These Savoury Cheese Muffins freeze beautifully. Simply pop them in an airtight container or bag in the freezer and when required pop them straight in the lunch box. They will help keep the lunchbox temperature down but will be defrosted by snack time.
Take a look at our Litter-free Lunch Boxes here
** Recipe credit to Edmonds
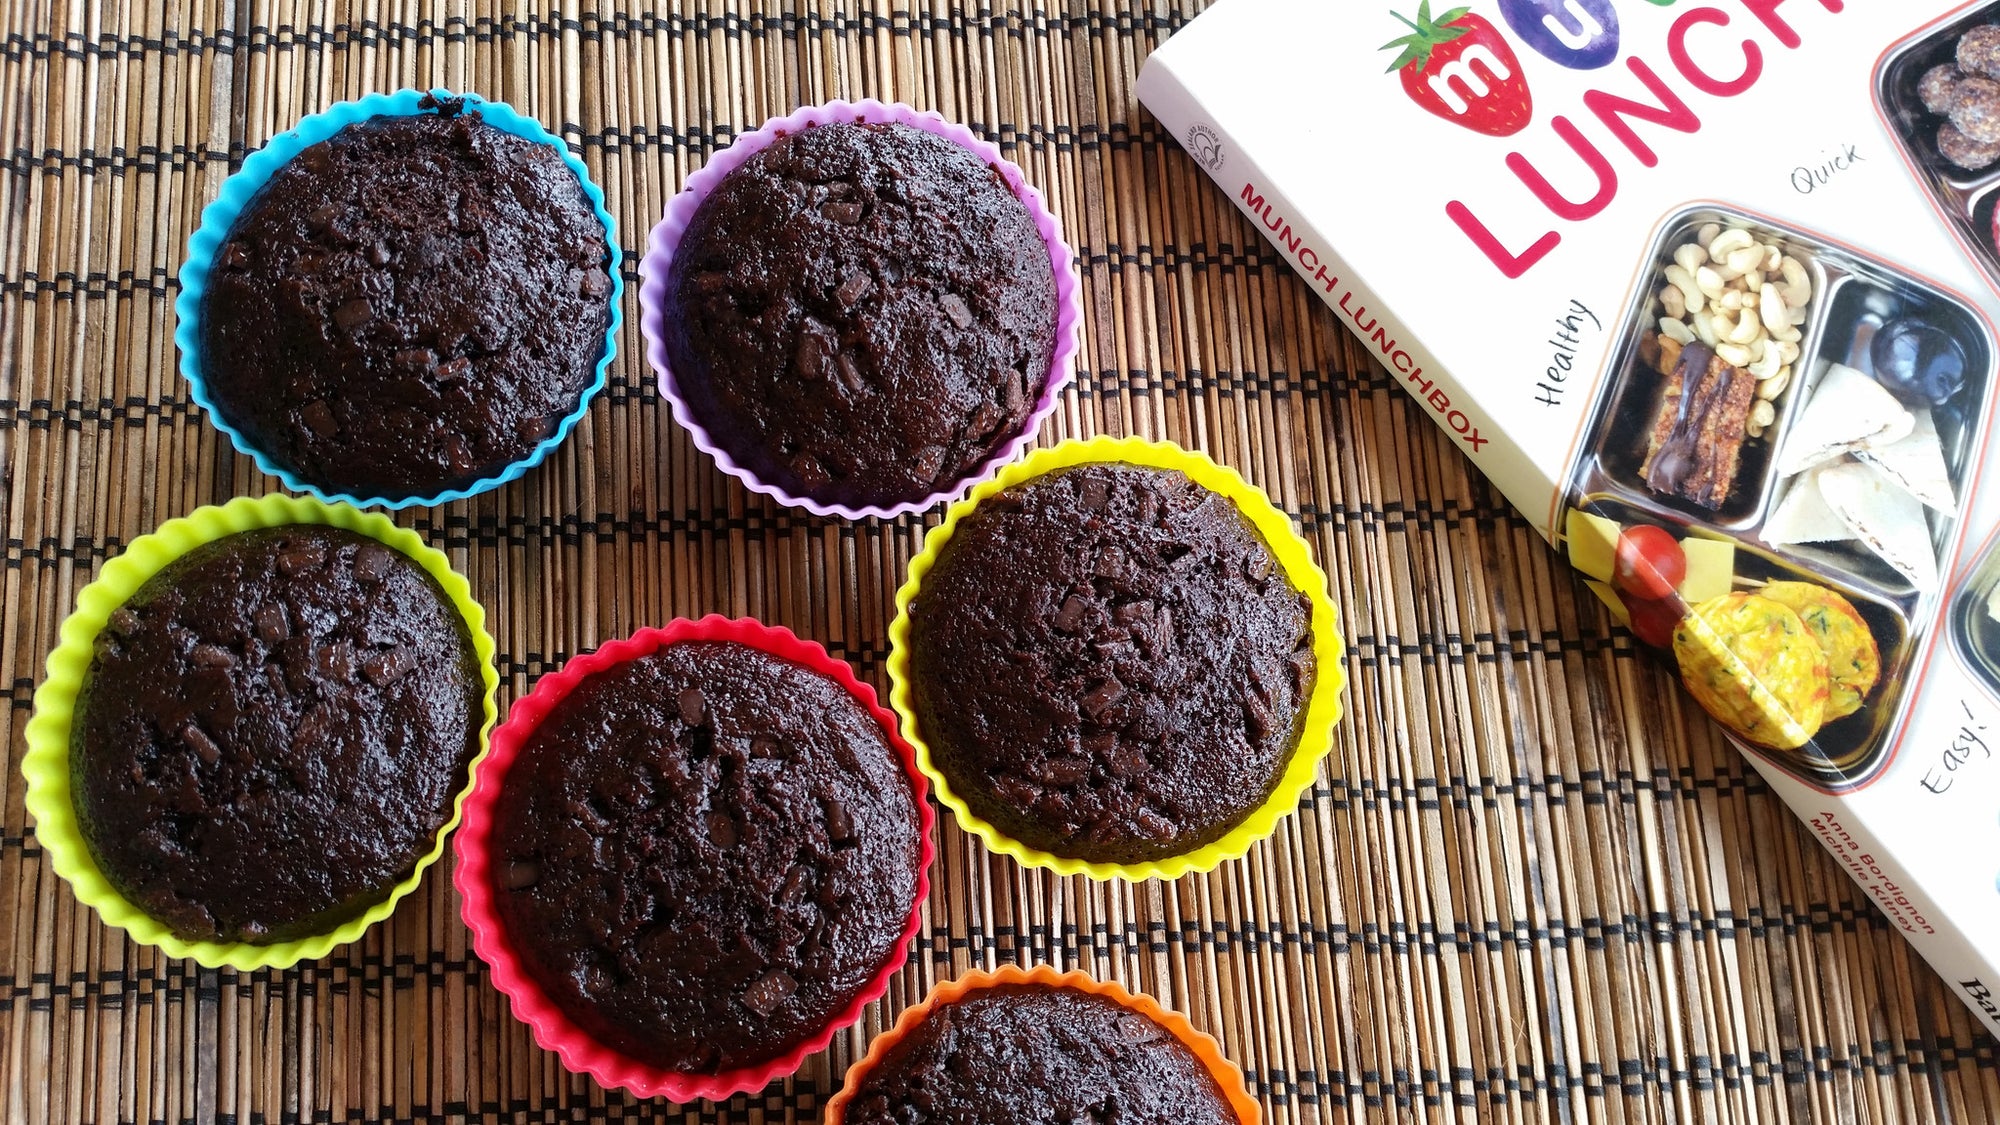
As a family we have a huge weakness for chocolate. We love it. If it's treat time you can be sure to find us with some form of chocolate at hand. So I was super excited to find this recipe for Beetroot Baby Chocolate Cakes that are full of nutritional goodness, you can't taste the beetroot, tastes like chocolate cake, but have the kids and the husband fooled :-) Winning!!
please note - I really don't like icing cakes or cupcakes. It seems too much like hard work to be honest, and Master C chooses to eat only the icing off the top. So for this recipe I have omitted a little bit of sugar from the recipe and sprinkled a few dark chocolate chips over the top of the muffin before cooking.
Prep time 10 minutes
Cook time 25 minutes
200 grams Raw Beetroot
2 Eggs
1/2 cup Vegetable Oil
1 1/2 cups Water
1 Tablespoon Vinegar
1 teaspoon Vanilla Essence
300 grams Plain Flour, sifted
1 1/2 cups sugar ( I used 1 cup as I added some dark chocolate chips to the top )
1/2 cup cocoa ( I used Cacao )
1 teaspoon Baking Powder
2 teaspoons Baking Soda
1. Preheat oven to 160° C fan bake, or 180° C bake. Grease muffin tins or set aside paper or silicone cupcake cases.
2. Grate beetroot. You can leave the skin on. (you may want to pop on some gloves as it stains your skin)
3. In a large bowl, mix together the beetroot, eggs, vegetable oil, water, vinegar and essence until well combined.
4. In another bowl, mix together the flour, sugar, cocoa, baking powder and baking soda. Stir together with a fork until well combined. Add the wet mixture to the dry ingredients. Fold together until well combined, breaking up any lumps.
5. Pour mixture in to the muffin tin or cases - do not overfill: about three-quarters full is best. If you choose, this is where you would sprinkle over the top a few dark chocolate chips
6. Bake for about 20-25 minutes or until they are firm when pressed on top.

** These Beetroot Baby Chocolate Cakes freeze beautifully. Simply pop them in an airtight container or bag in the freezer and when required pop them straight in the lunch box. They will help keep the lunchbox temperature down but will be defrosted by snack time.
Take a look at our Litter-free Lunch Boxes here
** Recipe credit to Munch Lunchbox Cookbook. You can find more fabulous recipes to help you through the week in the book available here


